How to Record/Change Your Voicemail Greeting
By Kay FleuryUpdated on August 20, 2024
We know that you can't – or don't always want to – take phone calls as soon as you get them. You may be in the middle of something important, or in a social situation where answering your phone would be rude. Or your phone may just simply be in a spot where you can't get to it quickly, like in another room, in a backpack or purse, or maybe just back at the house because you forgot it!
Whatever the reason, you need to be able to let people who call you know how they can get in touch with you, or at least get their message to you. That's what voicemail greetings are for! In this lesson, we'll show you how to set one up on your Android phone, whether you want a standard greeting for simplicity and functionality or a custom greeting that adds a personal touch.
If you haven't activated the voicemail system for your Android phone yet, you can learn how to do that in our guide to setting up voicemail on Android.
How to record or change your Android voicemail greeting in 10 simple steps
1. Turn on your phone and launch the Phone app.
Turn the power on for your phone. Then, tap the Phone app.

2. Open the dial pad.
Tap the dial pad icon near the bottom of the screen to bring up your phone's dial pad.

3. Call your voicemail.
Using the dial pad, type in the phone number assigned to your voicemail account, and then press the green Call button. Or, just press and hold the 1 key if that's easier.

4. Enter your voicemail password.
If you have set a password lock for your voicemail account, you will be prompted to key it in. Use the dial pad to do so.

5. Go to your voicemail settings.
Once you are in your voicemail system, the specific options that you have – and the keys on the dial pad that you have to press to access them – will differ slightly, depending on your telecom carrier. However, the general process should be similar to the one described from here on out.
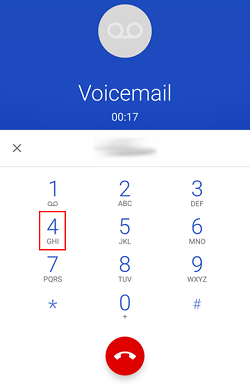
Anyway, start by tapping the key on the dial pad that corresponds to your personal settings. In this case, it's 4.
6. Access your greeting or recorded name settings.
Next, press the key on the dial pad that corresponds to options for your greeting or recorded name. In this case, it's 3.
7. Edit your voicemail greeting.
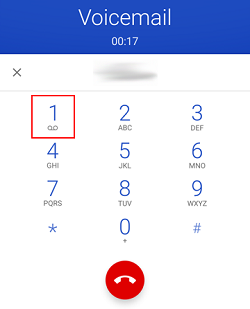
Now, press the dial pad key for changing or recording your voicemail greeting. It's 1 in this case.

8. Select a standard greeting, or create a custom one.
You will usually be given the choice to either select a standard greeting or record a custom one. Press the key on the dial pad that represents what you want to do. In this case, you press 1 if you want a standard greeting or 2 if you want a custom greeting.
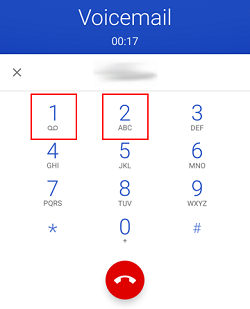
If you select a standard greeting, you may be allowed to choose from different variations. For example, in this case, you can press 1 on the dial pad to leave a greeting with your recorded name, or press 2 to leave a greeting with your phone number.

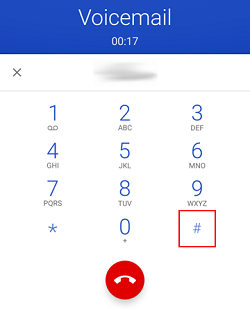
If you choose to record a custom greeting, wait for the prompt tone to sound, and then speak your greeting. When you're finished, press the designated key on the keypad (in this case, #) to stop the recording.
Stuck with regards to what to say? We have a guide with tips on recording a funny greeting if you want to leave your family and friends in stitches.
After recording your custom greeting, you will usually have several options. For instance, you can play it back to see if you like how it sounds, re-record the greeting if you don't like it (in this instance, go back and repeat step 10), or confirm the greeting if you're satisfied with it.
Press the key on the dial pad that corresponds with what you want to do. In this case, you can press 1 to replay the greeting, * to re-record it, or # to keep it.
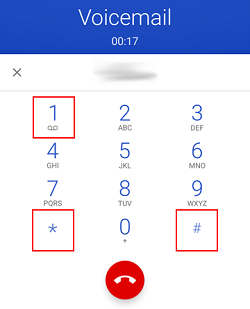
9. Hang up.
Once you've selected a greeting, press the red End Call button to hang up and exit your voicemail system.

There you have it! You now know the basic steps for changing your voicemail greeting on your Android phone. Whether you think a standard greeting will do, or want a custom one for some personal flair, you're all ready to set one up!